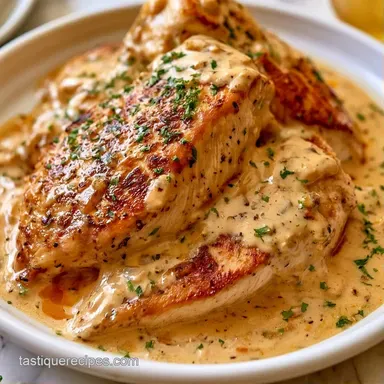
Pan-Seared Creamy Garlic Chicken
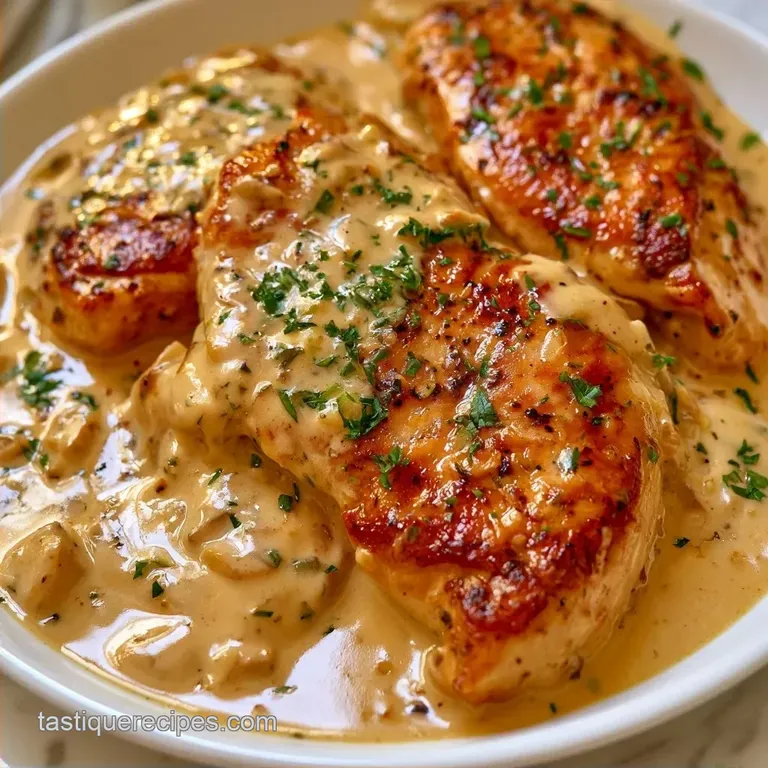
- Time: 10 min active + 20 min cooking
- Flavor/Texture Hook: Garlic heavy, rich, and glossy
- Perfect for: Quick weeknight dinners
The sound of chicken hitting a hot skillet with a loud, aggressive sizzle is the only way to start this. If you've ever ended up with grey, rubbery meat that tastes like it was boiled in a pan, you know the frustration. Most people crowd the pan or drop the heat too early, and that's where the flavor dies.
This version fixes that by focusing on a hard sear and a controlled sauce reduction. You get a mahogany crust on the outside and juicy meat on the inside. Trust me, once you see the difference a proper sear makes, you'll never go back to poaching your chicken in sauce.
We're making a Creamy Garlic Chicken that balances the richness of heavy cream and Parmesan with a bright hit of lemon. It's a simple process, but the order of operations is what keeps the sauce from splitting.
The Logic Behind the Sauce
Browned Bits: Searing the meat leaves behind a caramelized layer on the pan. Scraping these bits into the sauce adds a savory depth you can't get from just adding garlic.
Dairy Balance: Heavy cream provides the body, but the lemon juice cuts through the fat. This prevents the dish from feeling too heavy on the palate.
Temperature Control: Adding the cheese at the end prevents it from clumping. It melts slowly into the cream to create a smooth, glossy finish.
The Pantry List
| Component | Purpose | Substitute Notes |
|---|---|---|
| Heavy Cream | Texture and richness | Coconut cream: Nutty and thinner |
| Parmesan | Saltiness and density | Pecorino: Sharper and saltier |
| Lemon Juice | Zesty brightness | White wine: Floral and more acidic |
- 1.5 lbs boneless skinless chicken breasts or thighs Why this? Breasts are leaner, while thighs stay moister
- 1 tsp salt
- ½ tsp black pepper
- 2 tbsp olive oil Why this? Ideal for high heat searing
- 3 tbsp unsalted butter
- 5 cloves minced garlic Why this? Fresh cloves offer more flavor than jarred
- 1 cup heavy cream
- ½ cup freshly grated Parmesan cheese Why this? Pre-shredded options have starch that impairs the texture
- 1 tsp lemon juice
- 1 tbsp fresh parsley, chopped
For a lower calorie option, substitute the heavy cream with half and half, though the result will be a thinner sauce. If you don't have Parmesan, sharp white cheddar works well, but it shifts the flavor profile toward a more rustic style.
Necessary Kitchen Gear
You don't need much for this, but a heavy bottomed skillet is a must. A stainless steel or cast iron pan is better than non stick because it lets the meat develop that deep brown crust.
A whisk is also helpful. While a spoon works, a whisk ensures the Parmesan integrates fully without leaving any lumps. Finally, have a set of tongs ready to flip the chicken without tearing the sear.
Right then, let's look at the method. Most home cooks rush the searing process, but that's where the magic happens.
The Cooking Process
Searing for Color
Pat the chicken dry with paper towels. Note: Wet meat steams instead of searing. Season generously with salt and pepper. Heat olive oil over medium high heat until it shimmers. Add chicken and sear for 5–7 minutes per side until a deep golden brown crust forms.
Remove chicken to a plate and set aside.
The Garlic Base
Lower the heat to medium. Melt the butter in the same skillet. Once foaming, add the minced garlic and sauté for 1 minute until fragrant and translucent. Do not let the garlic turn dark brown, or it will taste bitter.
The Final Finish
Pour in the heavy cream and bring to a gentle simmer. Use your whisk to scrape the bottom of the pan, releasing the browned bits into the liquid. Stir in the Parmesan cheese and lemon juice. Whisk until the sauce is smooth and thick enough to coat a spoon.
Return the chicken and any resting juices to the pan. Simmer for 2–3 minutes until the chicken is cooked through and glazed. Garnish with chopped fresh parsley.
Chef's Note: For the best results, let the chicken rest for 5 minutes before slicing. This keeps the juices inside the meat rather than on the cutting board.
Fixing Common Sauce Issues
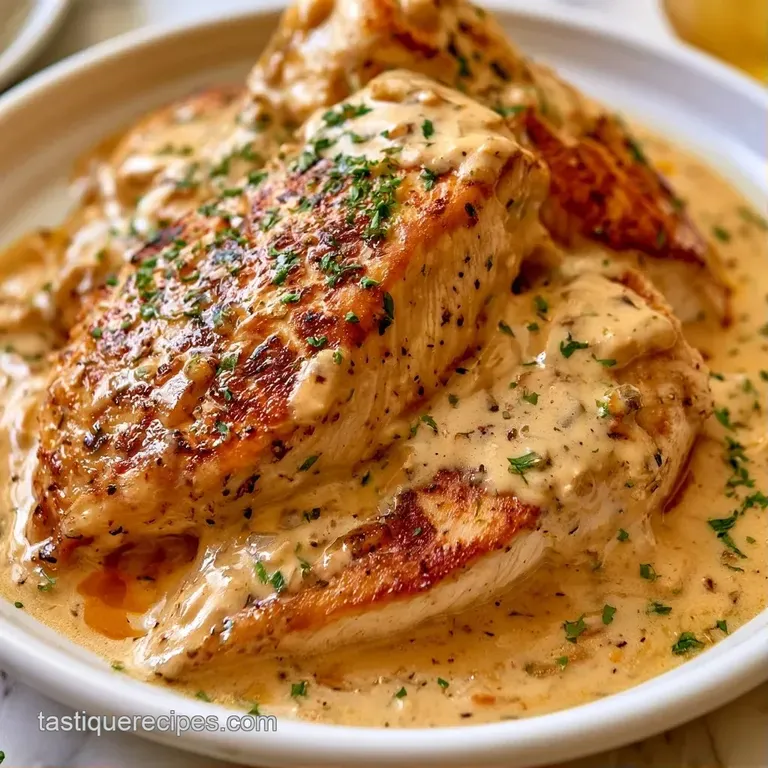
The biggest challenge when preparing Creamy Garlic Chicken is often a sauce that doesn't emulsify correctly. This is typically caused by improper heat control; if the pan gets too hot, the dairy components can split.
Fixing a Broken Sauce
If you notice oily droplets forming on the surface, the sauce has broken. This happens when the fat separates from the liquid. To bring it back together, stir in a tablespoon of warm water while keeping the heat low.
Saving Burnt Garlic
Once garlic turns dark brown or black, it is ruined. Burnt garlic has an acrid flavor that will taint the entire dish. The only effective solution is to wipe the pan clean and start the sauce base over.
Preventing Dry Chicken
A frequent mistake is overcooking the meat during the final simmering stage. If the chicken was already mostly cooked during the searing process, a 2 3 minute finish is sufficient. To be certain, use a meat thermometer to ensure the internal temperature reaches the USDA recommended 165°F.
| Problem | Fix |
|---|---|
| Sauce separates | Whisk in warm water |
| Garlic is bitter | Restart sauce base |
| Chicken is dry | Reduce final simmer time |
Flavor Variation Ideas
You can easily tweak this base to fit what's in your fridge. For a zesty Italian feel, stir in a handful of chopped sun dried tomatoes and a pinch of oregano. The acidity of the tomatoes balances the cream beautifully.
If you want something greener, fold in two cups of fresh spinach during the last minute of simmering. The heat of the sauce wilts the leaves perfectly. For those who love a rich, creamy base, you might also like this Rose Tteokbokki recipe for a different twist on cream sauces.
For a punchier version, add a teaspoon of Dijon mustard to the cream. This adds a subtle tang and helps stabilize the sauce.
Quick Choice Guide:
- Tangier sauce? → fold in 1 tsp lemon zest.
- Thicker texture? → simmer 2 mins longer.
- Spicier kick? → add 1/2 tsp red pepper flakes.
Storage and Freshness
This meal stays fresh in the refrigerator for 3 days. Use an airtight container to prevent the sauce from absorbing other odors. When you're ready to reheat, do so slowly on the stovetop over low heat. Stir in a bit of milk or water to loosen the texture, as the Parmesan tends to thicken the liquid as it cools.
Cream based sauces aren't ideal for freezing because they often separate when thawed. If necessary, it can be kept for about 2 months. Let it defrost in the fridge overnight before warming it gently.
To minimize waste, save any chicken trim or bones from your prep. Simmer them in a pot with water and a carrot to create a quick stock for another meal.
Best Serving Suggestions
The sauce is the star here, so you want a side that can soak it up. Mashed potatoes or a bed of steamed jasmine rice are the classic choices. For a lower carb option, roasted cauliflower or sautéed zucchini work great.
If you're planning a larger feast, this pairs well with a crisp green salad with a vinaigrette to cut the richness. For another heavy comfort meal, a ground beef casserole is a great alternative for a different night of the week.
Stovetop vs Oven
Depending on your schedule, you might wonder if the oven is easier. Here is how they compare:
| Method | Speed | Texture | Effort |
|---|---|---|---|
| Stovetop | Very Fast | Deep crust | High |
| Oven | Slower | Even cook | Low |
Right then, we should clear up a few things about how this all works.
Kitchen Myths
It's a widespread misconception that searing meat "locks in" juices. In reality, evaporation occurs no matter which cooking method you choose. The primary purpose of a sear is to develop a savory brown crust that enhances the overall flavor.
You might believe that flouring the chicken is essential for a thick sauce. Although flour can assist, simply reducing the heavy cream and stirring in Parmesan provides a rich, velvety consistency without adding extra carbohydrates.
Adjusting the Batch
If you're cooking for one or two, you can easily halve the recipe. Use 0.75 lbs of chicken and reduce the simmer times by about 20%. Be careful with the garlic, as 2-3 cloves are usually enough for a small batch.
For a larger crowd, don't just double the garlic, or it will overwhelm the dish. Use about 1.5x the garlic (7-8 cloves). Work in batches when searing the chicken. If you crowd the pan with 3 lbs of meat, the temperature drops, and you'll get grey meat instead of a golden crust.
For the liquids, you can reduce the cream by 10% when doubling the recipe, as less liquid evaporates proportionally in a larger volume.
This Creamy Garlic Chicken is a great example of how a few simple techniques, like a hard sear and a slow simmer, can make a home meal feel professional. Just keep an eye on your garlic and don't rush the browning, and you'll have a winner.
Recipe FAQs
How long do chicken thighs take to cook in a frying pan?
Sear for 5 7 minutes per side. After searing, return the chicken to the sauce to simmer for an additional 2 3 minutes until cooked through.
How to cook chicken thighs in a pan?
Heat olive oil over medium high heat until shimmering. Sear seasoned chicken for 5 7 minutes per side to develop a golden brown crust before removing them to make the sauce.
What are the best side dishes for chicken breasts?
Steamed broccoli or pasta. This rich dish pairs perfectly with a light Caprese Salad to balance the heavy cream and Parmesan.
Is it true that chicken breasts require a different searing temperature than thighs?
Actually, no. Both cuts should be seared over medium high heat to ensure a deep golden brown crust without overcooking the interior.
Can this dish be frozen?
No, it is not ideal. Cream based sauces frequently split upon thawing, though the meal can be stored in the freezer for up to 2 months if reheated very gently.
Creamy Garlic Chicken