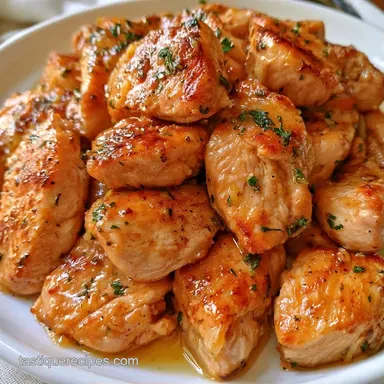
Quick and Lean Garlic Butter Chicken
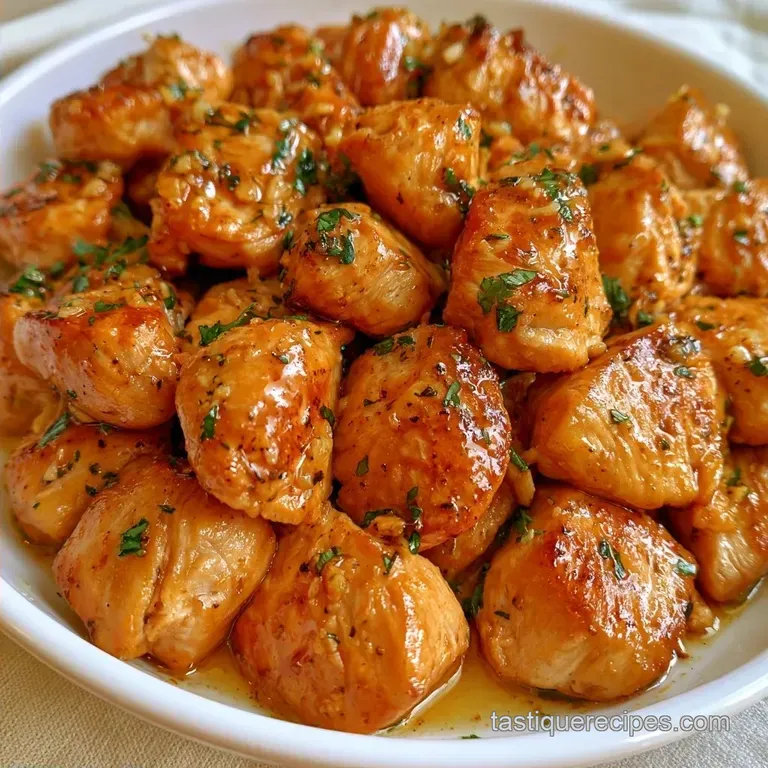
- Time: 5 min active + 15 min cooking
- Flavor/Texture Hook: Buttery, savory glaze with a deep sear
- Perfect for: Hectic weeknights or a quick date night
- Why This Garlic Butter Chicken Works
- Essential Kitchen Gear
- The Ingredient Breakdown
- Quick Recipe Specs
- Shopping List and Swaps
- How to Make It
- Solving Common Kitchen Glitches
- Adjusting the Batch Size
- Busting Common Cooking Myths
- Keeping and Saving Scraps
- Twists on the Original
- Pairing Ideas
- Recipe FAQs
- 📝 Recipe Card
Sizzle. That's the sound of a cast iron skillet hitting the right temperature. There is something about that noise that tells you dinner is actually going to be good tonight.
I usually make this on those Tuesdays when the house is chaos and I have exactly twenty minutes before someone starts complaining they're hungry. It's the kind of meal that feels like you spent an hour in the kitchen, but you really just used one pan and a bit of patience.
This Garlic Butter Chicken delivers a punch of savory flavor without needing a long marinade. You get a deep, caramelized crust on the outside and a tender center, all tied together with a glossy sauce.
Why This Garlic Butter Chicken Works
Over High heat Searing: Using olive oil first allows the pan to get hot enough to brown the meat without burning the butter. This creates a deep flavor profile that tastes like restaurant cooking.
The Baste: Adding butter and lemon at the very end creates a mounting emulsion. This coats the chicken in a rich, velvety glaze that clings to the meat rather than pooling at the bottom of the plate.
Essential Kitchen Gear
You don't need high end equipment, but a 12 inch stainless steel or cast iron skillet is required. These materials retain heat better than non-stick, allowing you to develop a deep, dark crust. Use tongs to flip the pieces without damaging the sear, and a small bowl to make spice mixing easier.
The Ingredient Breakdown
| Component | Purpose | Substitute Notes |
|---|---|---|
| Chicken Breast | Lean protein base | Thighs: Juicier but need 2-3 mins more cooking |
| Unsalted Butter | Richness and gloss | Salted butter: Reduce added salt by 1/4 tsp |
| Fresh Garlic | Sharp, aromatic punch | Garlic powder: Use 1 tsp, but add it to the butter |
| Lemon Juice | Brightness and acidity | White wine: Adds a deeper, more acidic tang |
Quick Recipe Specs
Before we start, here is the layout. This recipe makes 4 servings. The prep takes 5 minutes, and the cooking takes 15 minutes, meaning you're eating in 20 minutes total.
| Goal | What to change |
|---|---|
| More tender | Use chicken thighs |
| Lighter meal | Swap butter for olive oil |
| Extra zing | Add lemon zest |
Shopping List and Swaps
- 1.5 lb boneless skinless chicken breast, sliced into thin cutlets or 1 inch bites Why this? Lean and cooks through quickly.
- 1/2 tsp salt
- 1/4 tsp black pepper
- 1/2 tsp smoked paprika Why this? Adds a woody, red color.
- 1 tbsp olive oil
- 3 tbsp unsalted butter, divided
- 4 cloves fresh garlic, minced
- 1 tbsp fresh lemon juice Why this? Cuts through the heavy butter.
- 1 tbsp fresh parsley, chopped
How to Make It
Phase 1: Prep and Season
Dry the chicken thoroughly using paper towels; removing surface moisture prevents steaming and ensures a better sear. Combine the smoked paprika, salt, and pepper in a small bowl, then season the chicken pieces evenly.
Phase 2: The High Heat Sear
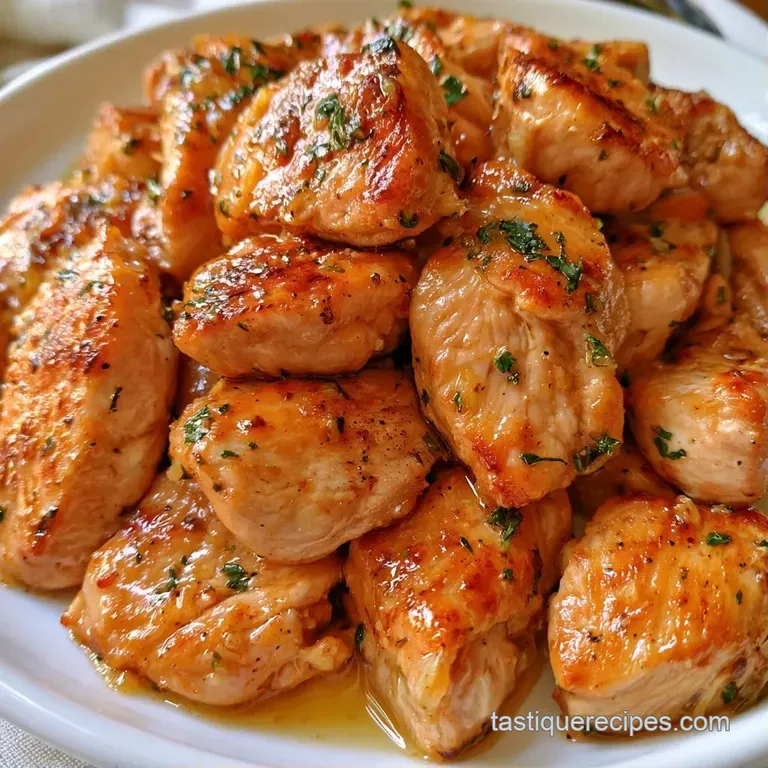
Warm the olive oil in a 12 inch skillet over medium high heat until it shimmers. Place the chicken in a single layer use multiple batches if necessary to avoid crowding the pan. Sear for 3–5 minutes per side without moving the pieces, until a mahogany colored crust forms.
Move the chicken to a plate.
Phase 3: The Garlic Butter Finish
Turn the heat down to medium and melt 2 tbsp of butter in the skillet. Once it begins to foam, stir in the minced garlic and sauté for 30 60 seconds until it smells nutty and fragrant.
Deglaze the pan by stirring in the lemon juice, scraping up the flavorful brown bits from the bottom. Return the chicken to the skillet, add the remaining 1 tbsp of butter, and toss for 1 minute until the sauce is glossy and clings to the meat. Garnish with parsley.
Solving Common Kitchen Glitches
The most frequent mistake is burning the garlic. Since the pan is very hot from the sear, the butter may brown too quickly. If the pan begins to smoke, move it off the heat for 30 seconds before adding the butter. This lowers the temperature so the garlic softens rather than charring.
Then there is the problem of rubbery chicken. This occurs when you move the meat too much or overcook it. Trust the timer and the color of the crust.
Bitter Burnt Garlic
Garlic becomes bitter if it hits a pan that is too hot. Always add the butter first to serve as a buffer.
Tough Rubbery Meat
Overcooking lean breast meat causes it to dry out. Remove the chicken as soon as it reaches an internal temperature of 165°F, as per USDA guidance.
Pale Meat
If the chicken is grey, your pan wasn't hot enough. Ensure the oil is glistening before adding the protein.
| Problem | Fix |
|---|---|
| Burnt Garlic | Pull pan off heat 30 seconds before adding butter |
| Rubbery Meat | Use a meat thermometer to stop at 165°F |
| Pale Meat | Increase heat until oil glistens |
Adjusting the Batch Size
To make a single portion, simply halve the recipe. Use an 8 inch skillet to prevent the butter from spreading too thin and burning. You can also decrease the cooking time by roughly 20% because there is less moisture in the pan.
If you're serving a group, double the chicken but only increase the salt and paprika by 1.5x. It is essential to cook in batches. Adding 3 lbs of chicken to a single pan will drop the temperature and release too much juice, meaning the meat will boil rather than sear.
Busting Common Cooking Myths
Many people believe that searing meat "seals in the juices." This is a myth. Moisture loss happens regardless of how you sear it. The real reason we sear Garlic Butter Chicken is for the flavor created by the browning of proteins.
Another myth is that you can't use butter for searing. You can, but butter has a low smoke point. It burns and turns black at high temperatures. That is why we start with olive oil and add the butter at the end for flavor.
Keeping and Saving Scraps
Keep any remaining portions in an airtight dish in the refrigerator for a maximum of 3 days. To warm it back up, use a skillet over medium heat with a dash of chicken broth or water; this helps the sauce loosen and ensures the chicken stays tender.
This dish can be frozen for 2 months, though the sauce's consistency may change slightly.
To minimize waste, don't throw away the remaining pan sauce. If there is some left in the skillet, stir in cooked pasta or steamed spinach to turn a basic side into a restaurant style meal. Additionally, freeze the juice from any extra lemon halves in ice cube trays for future recipes.
Twists on the Original
If you want something a bit more indulgent, try making a creamy garlic chicken by adding a splash of heavy cream during the final toss. For those who prefer a different cut, Garlic Butter Chicken Thighs are a great swap. Thighs are more forgiving and stay juicy even if you overcook them by a few minutes.
For a snack or appetizer, turn these into Garlic Butter Chicken Bites by cutting the breast into small 1 inch cubes. They cook faster and provide more surface area for the garlic glaze to cling to.
Pairing Ideas
This dish is rich, so it needs something bright or starchy to balance it. Fluffy jasmine rice or mashed potatoes are the classic choices because they soak up that extra lemon butter sauce.
If you're looking for a vegetable, roasted asparagus or sautéed kale works well. For a full feast, I love serving this alongside garlic shrimp and mushrooms to create a seafood and poultry platter that looks impressive but takes very little effort.
Recipe FAQs
What ingredients are required for this garlic butter chicken?
You will need chicken breast, salt, pepper, smoked paprika, olive oil, unsalted butter, fresh garlic, lemon juice, and parsley. These simple pantry staples combine to create a rich, savory glaze.
How to sear the chicken for a mahogany crust?
Bring olive oil to a shimmer in a pan over medium high heat. Arrange the chicken in a single layer and sear for 3 5 minutes per side, leaving the pieces undisturbed.
Is it true that butter should be used for the initial searing?
No, this is a common misconception. Olive oil is used first because it handles higher heat without burning, which allows the chicken to brown properly.
Why does the sauce become velvety instead of oily?
Stirring in lemon juice to deglaze the pan creates an emulsion with the butter. This binds the fats and liquids into a glossy sauce that clings to the meat.
Which side dishes pair best with this meal?
Steamed broccoli or roasted asparagus complement the rich butter sauce well. For a starch, serve this alongside some homemade biscuits to soak up the extra glaze.
Can I use chicken thighs instead of breasts?
Yes, thighs work great and often stay juicier during the searing process. Since they are thicker, increase the cooking time slightly to ensure they are cooked through.
Garlic Butter Chicken