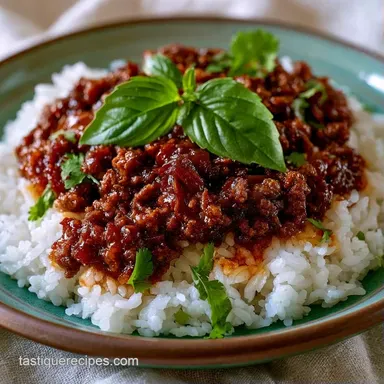
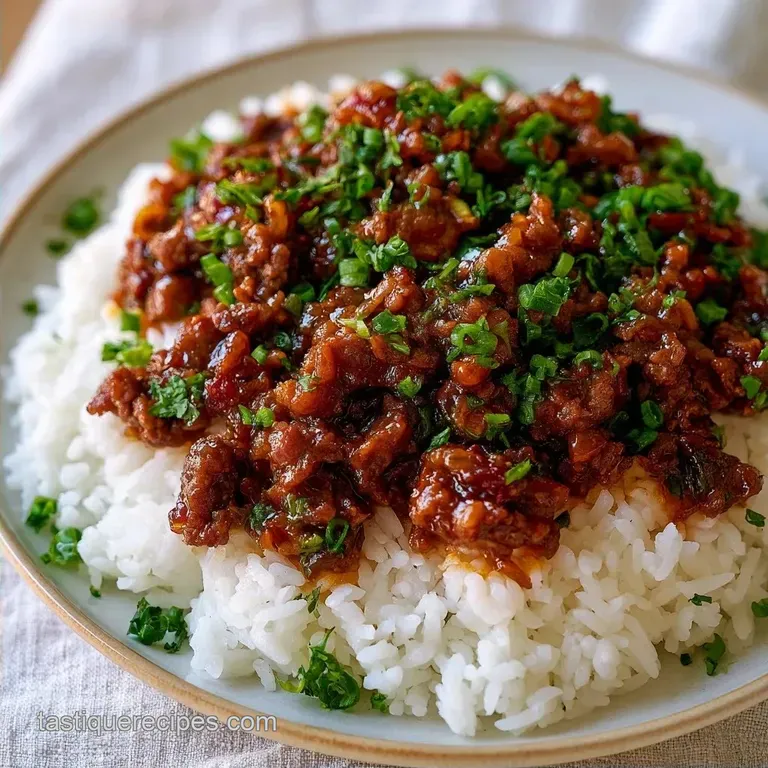
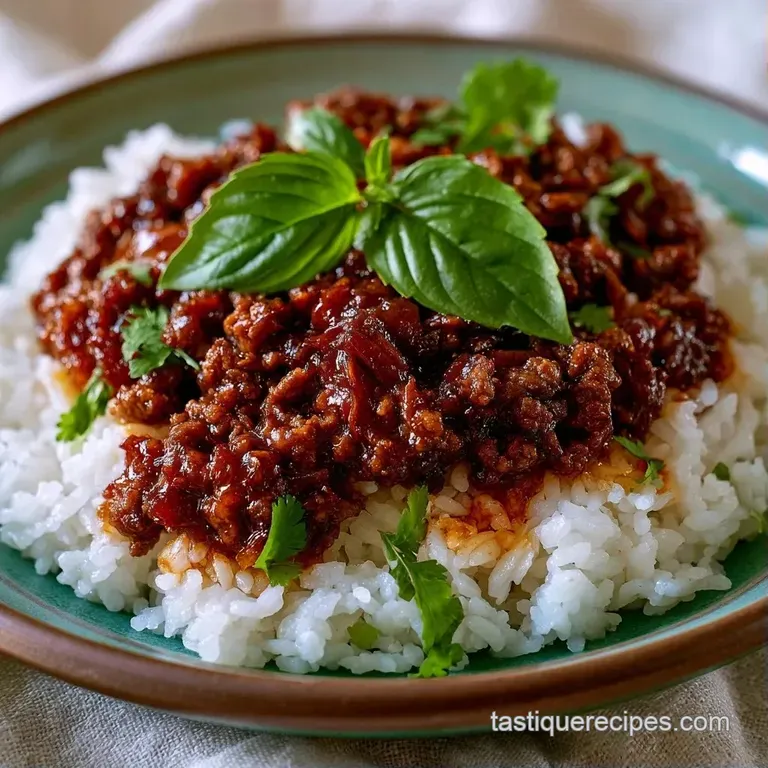
Korean Ground Beef Rice Bowl: Savory and Sticky
- Time: 10 min prep + 10 min cook = Total 20 minutes
- Flavor/Texture Hook: Glossy, caramelized beef over fluffy, sticky rice
- Perfect for: Hectic weeknight dinners, budget-friendly meal prep, or beginner cooks
- Korean Ground Beef Rice Bowl Guide
- Why the Glaze Actually Sticks
- The Component Analysis
- Gathering Your Essentials
- Necessary Kitchen Gear
- The Cooking Process
- Fixing Common Beef Blunders
- Customizing Your Flavor Profile
- Debunking Kitchen Myths
- Keeping Leftovers Fresh
- Serving Your Beef Bowls
- High in Sodium
- Recipe FAQs
- 📝 Recipe Card
Korean Ground Beef Rice Bowl Guide
That specific, pungent aroma of ginger and garlic hitting a hot pan is practically a siren song in any kitchen. I remember the first time I tried to recreate those deep, savory sweet flavors of Korean bulgogi at home.
I didn't have the fancy ribeye or the time to marinate meat for twelve hours, so I looked at the lean ground beef in my fridge and wondered if I could cheat the system.
The result was a total revelation. By using ground meat, you actually increase the surface area for the sauce to cling to, meaning every single bite is drenched in that sticky, salty sweet glaze.
It's a modern twist on a traditional profile that respects the core balance of Korean flavors while fitting into a chaotic Tuesday night schedule.
This Korean Ground Beef Rice Bowl is all about that "dan jjan" balance, which is the Korean concept of sweet and salty working in harmony. You'll get the salt from the soy, the sweetness from the brown sugar, and a tiny kick from the red pepper flakes. It’s fast, it’s comforting, and it honestly tastes like you spent way more time on it than you actually did.
Why the Glaze Actually Sticks
Instead of a complex chemical breakdown, think of this as a simple physics game in your skillet.
- The Sugar Melt: Brown sugar doesn't just sweeten, it liquefies and then thickens, creating a syrup that acts like glue for the soy sauce.
- Surface Area Sizzle: Because the beef is ground, there are thousands of tiny nooks and crannies that trap the sauce, unlike a smooth steak.
- Fat Integration: The lean beef provides just enough fat to carry the flavors of the ginger and garlic without making the bowl greasy.
- The Oil Finish: Adding sesame oil at the very end keeps its nutty aroma from evaporating under high heat.
| Method | Time | Texture | Best For |
|---|---|---|---|
| Stovetop | 20 mins | Glossy & Caramelized | Fast weeknights |
| Oven Baked | 30 mins | Evenly Roasted | Large crowds |
Right then, let's look at what the ingredients are actually doing in the pan. It's not just about taste; it's about how they interact to create that specific mouthfeel.
The Component Analysis
| Ingredient | Science Role | Pro Secret |
|---|---|---|
| Lean Ground Beef | Protein Base | Don't over stir to ensure a brown crust |
| Soy Sauce | Salt & Umami | Use low sodium to control the saltiness |
| Brown Sugar | Thickening Agent | Packed sugar melts faster and more evenly |
| Sesame Oil | Aromatic Finish | Always add off heat to preserve the scent |
Gathering Your Essentials
When picking your ingredients, quality matters, but accessibility is key. I've found that using a few specific swaps can change the vibe of the dish without ruining the core flavor. If you're looking for something similar but with a different texture, you might enjoy a Beef Rice Noodle Skillet which uses a similar flavor profile but swaps the rice for chewy noodles.
- 1 lb lean ground beef Why this? Less grease means the glaze sticks better
- 3 cloves garlic, minced Why this? Fresh garlic provides a sharp, pungent bite
- 1 tsp fresh ginger, grated Why this? Adds a zesty, warm contrast to the sugar
- 1 tbsp toasted sesame oil Why this? Provides that classic toasted, nutty finish
- 1/4 cup soy sauce Why this? The primary source of salt and deep color
- 3 tbsp brown sugar, packed Why this? Creates the sticky, syrupy texture
- 1/2 tsp crushed red pepper flakes Why this? A gentle heat to cut through the sweetness
- 1/4 tsp salt Why this? Enhances the natural beef flavor
- 1/4 tsp black pepper Why this? Adds a subtle woody spice
- 4 cups cooked short grain white rice Why this? Stickier grains hold the sauce better
- 3 stalks green onions, thinly sliced Why this? Freshness and a pop of color
- 2 tbsp toasted sesame seeds Why this? Adds a tiny bit of crunch
Ingredient Swaps
| Original Ingredient | Substitute | Why It Works |
|---|---|---|
| Lean Ground Beef | Ground Turkey | Leaner and milder. Note: Needs more salt to match beef |
| Brown Sugar | Honey | Natural sweetness. Note: Makes the sauce thicker and stickier |
| Soy Sauce | Coconut Aminos | Soy free alternative. Note: Sweeter and less salty |
| Short grain Rice | Cauliflower Rice | Low carb option. Note: Lacks the chew and stickiness |
Trust me on this: don't skip the fresh ginger. The powdered stuff is fine for baking, but for a Korean Ground Beef Rice Bowl, you need that fresh, zingy punch to balance the richness of the beef.
Necessary Kitchen Gear
You don't need a professional setup for this, but a few tools make the process a lot smoother. I personally use a heavy bottomed stainless steel or cast iron skillet. The reason is simple: these materials hold heat better, which is essential for getting that deep brown crust on the meat.
If you use a thin non stick pan, you might find the beef steams in its own juices rather than searing.
A sturdy spatula is also a must. You want something that can scrape the bottom of the pan to incorporate the caramelized bits (the fond) back into the sauce. For the rice, a standard rice cooker is the gold standard, but a heavy pot with a tight lid works just as well. If you're unsure about how to get the best texture for your grains, Serious Eats has some great guides on rinsing rice to remove excess starch.
The Cooking Process
Let's crack on. The key here is heat management. You want the pan hot enough to sear, but not so hot that the sugar in the sauce burns before the beef is glazed.
1. The Searing Phase
Heat a large skillet over medium high heat. Add the ground beef, breaking it apart with a spatula. Cook without stirring too frequently for 3-4 minutes until the beef develops a deep brown, caramelized crust. Drain any excess fat if necessary.
Note: Leaving the meat alone for a few minutes is what creates the flavor.
2. The Aromatics
Lower the heat to medium. Stir in the minced garlic and grated ginger, cooking for 1 minute until the aroma becomes fragrant and pungent. Note: Garlic burns quickly, so keep it moving.
3. The Glazing Phase
Pour in the soy sauce, brown sugar, red pepper flakes, salt, and pepper. Stir constantly for 2-3 minutes until the sauce thickens into a glossy glaze that coats the beef. Note: You'll see the sauce bubble and reduce into a syrup.
4. The Finishing Touch
Remove the pan from the heat and stir in the toasted sesame oil. Note: This preserves the delicate toasted flavor.
5. The Assembly
Divide the cooked white rice into four bowls. Top each with the glazed Korean beef and garnish with sliced green onions and toasted sesame seeds.
Chef's Tip: For a real pro move, toast your sesame seeds in a dry pan for 60 seconds before adding them. It wakes up the oils and makes the flavor much more intense.
Fixing Common Beef Blunders
Even the best of us mess up a sear or overcook the garlic. Most of these issues come down to pan temperature or timing. If your beef looks grey, you've likely crowded the pan or used too low a heat, causing the meat to boil in its own moisture instead of searing.
Why Your Beef is Grey
This happens when the meat releases moisture and the pan isn't hot enough to evaporate it quickly. Instead of searing, the meat "stews." To fix this, increase the heat and don't stir the beef for the first 3 minutes.
My Sauce is Too Watery
If the sauce isn't glossy, you probably didn't let it reduce long enough or used too much liquid. Keep simmering for another 2 minutes on medium heat until the bubbles become larger and slower.
The Garlic Burned
Burnt garlic tastes bitter. If you see black specks, you've gone too far. If it's just a little scorched, you can sometimes save it by adding a pinch more brown sugar to mask the bitterness, but usually, it's best to start the aromatic phase over.
| Problem | Root Cause | Solution |
|---|---|---|
| Grey Meat | Pan temperature too low | Higher heat, less stirring |
| Watery Sauce | Under reduced | Simmer 2-3 mins longer |
| Bitter Taste | Burnt garlic/ginger | Lower heat for aromatics |
Quick Beef Check
- ✓ Beef is dark brown, not grey.
- ✓ Sauce is glossy and clings to meat, not pooling.
- ✓ Garlic is fragrant and golden, not black.
- ✓ Rice is fluffy and steaming.
Customizing Your Flavor Profile
Once you've got the basic Korean Ground Beef Rice Bowl down, you can start playing with the ingredients. I love adding a tablespoon of Gochujang (Korean chili paste) if I want a deeper, funkier heat. It adds a fermented complexity that really rounds out the sweetness of the brown sugar.
For those who want more greens, try stirring in some shredded carrots or baby spinach during the last minute of cooking. The heat from the beef will wilt the spinach perfectly without making it mushy. If you're avoiding carbs, this beef tastes just as great over a bed of steamed bok choy or cauliflower rice.
If you've got extra beef and want to try another variation, you could easily turn this into a Korean Beef Broth Soup by adding beef stock and simmering with sliced radishes and carrots.
Decision Shortcut If you want more heat → Add 1 tbsp Gochujang or extra red pepper flakes. If you want more crunch → Add sliced cucumbers or pickled radishes on top. If you want a lighter meal → Swap white rice for a mix of quinoa and brown rice.
Debunking Kitchen Myths
I've heard a lot of contradictory advice about cooking ground meat. Let's set the record straight.
One big myth is that you should "seal in the juices" by searing the meat first. In reality, searing doesn't create a waterproof seal. The moisture loss happens regardless. What searing actually does is create a crust of flavor through browning, which makes the beef taste meatier.
Another misconception is that you must drain all the fat before adding the sauce. While you should drain excess grease, leaving a tiny bit of beef fat helps the soy and sugar emulsify into a smoother, more velvety glaze.
Keeping Leftovers Fresh
This dish is a meal prep dream. The flavors actually deepen after a day in the fridge as the beef continues to marinate in the glaze.
Storage GuidelinesFridge: Store in an airtight container for 3-4 days. Freezer: The beef mixture freezes well for up to 2 months. I recommend freezing the beef separately from the rice, as the rice can become grainy when frozen and thawed.
Reheating Tips When reheating in the microwave, add a tiny splash of water to the rice and beef. This creates a bit of steam that prevents the meat from drying out and keeps the glaze from becoming too tacky. Heat in 30 second bursts, stirring in between.
Zero Waste Ideas Don't toss your green onion ends! I keep them in a jar of water on my windowsill, and they'll grow back. Also, if you have leftover glaze in the pan, whisk in a teaspoon of cornstarch and a splash of water to make a quick dipping sauce for some steamed broccoli.
Serving Your Beef Bowls
Presentation makes a huge difference in how a meal feels. I like to serve this in wide, shallow bowls to show off the contrast between the white rice and the dark, glossy beef.
To take it to the next level, add a "fresh" element to the bowl. A few slices of fresh cucumber or a scoop of kimchi provides an acidic crunch that cuts right through the richness of the beef. If you're feeling fancy, a fried egg with a runny yolk on top is the ultimate addition.
The yolk mixes with the soy sugar glaze to create a creamy, rich sauce that is absolutely incredible.
Right then, you're all set. This Korean Ground Beef Rice Bowl is proof that you don't need hours in the kitchen to get authentic, bold flavors. Just remember: high heat for the sear, patience for the glaze, and plenty of green onions for the finish. Happy cooking!
High in Sodium
840 mg 840 mg of sodium per serving (37% 37% of daily value)
The American Heart Association recommends a daily sodium limit of no more than 2,300 mg for most adults to maintain heart health.
Tips to Reduce Sodium
-
Swap the Soy Sauce-30%
Replace the regular soy sauce with low-sodium soy sauce or coconut aminos for a significant reduction in salt without losing the savory flavor.
-
Omit Added Salt-25%
Completely remove the 1/4 tsp of salt from the recipe, as the soy sauce already provides ample salinity.
-
Add Acidic Brightness-10%
Squeeze in some fresh lime juice or add a splash of rice vinegar to enhance the flavor profile, which tricks the palate into needing less salt.
-
Boost Aromatics
Increase the amount of fresh ginger, garlic, and crushed red pepper flakes to add complexity and heat without adding any sodium.
Recipe FAQs
Can I use ground beef instead of sliced steak for a Korean beef bowl?
Yes, it works great. Ground beef increases the surface area, ensuring every bite is coated in the savory soy and brown sugar glaze.
What is the best type of rice for a Korean beef bowl?
Use short grain white rice. Its naturally sticky texture holds the glazed beef and sauce better than long grain varieties.
How do I get the beef to develop a deep brown crust?
Heat a large skillet over medium high heat and cook the beef without stirring too frequently. If you enjoyed mastering the sear here, apply the same browning principle to our beef and rice casserole for deeper flavor.
How do I make the sauce thicken into a glossy glaze?
Stir the soy sauce and brown sugar constantly for 2-3 minutes. This allows the sugar to liquefy and reduce, creating a sticky coating for the meat.
Is it true that I should stir the beef constantly to brown it faster?
No, this is a common misconception. Stirring too often prevents the beef from searing and developing a deep brown, caramelized crust.
What is this ground beef version of a Korean rice bowl called?
It is typically called a Korean Ground Beef Bowl. While it mimics the flavor profile of bulgogi, it is a streamlined version designed for faster cooking.
How do I prevent the garlic and ginger from burning?
Lower the heat to medium before stirring them in. Cook for only 1 minute until fragrant before adding the liquid ingredients to cool the pan.
Korean Ground Beef Rice Bowl