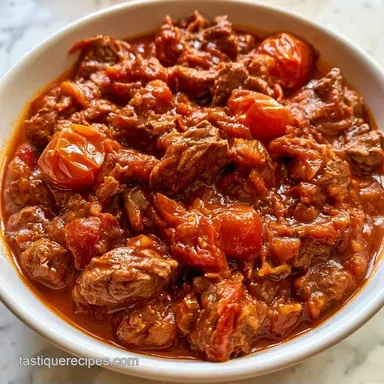
Smoked Heath Riles Fall Chili Recipe
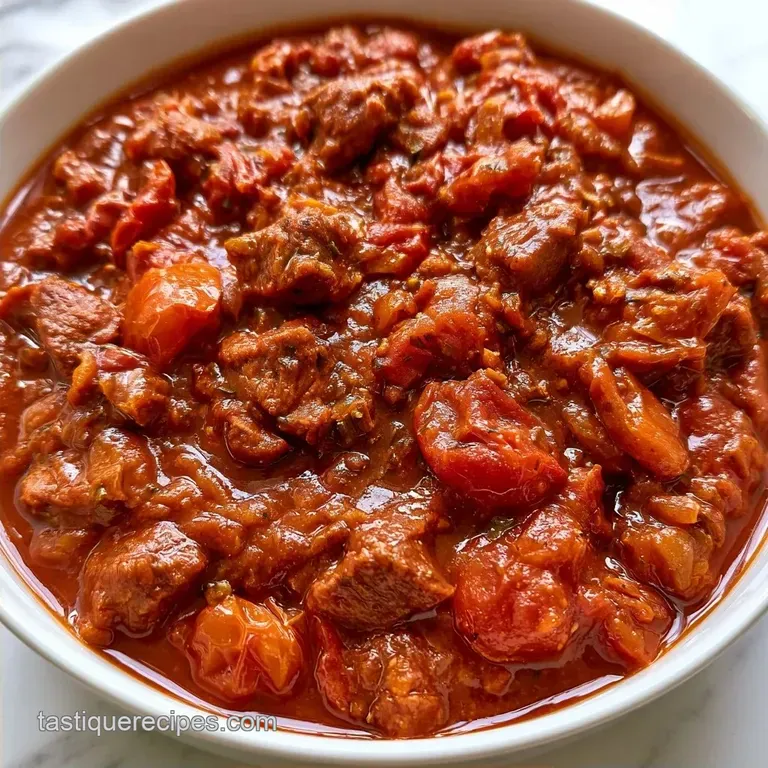
- Time: 20 min active + 6 hours cooking
- Flavor/Texture Hook: Rich, smoky beef with a glossy, thick finish
- Perfect for: Game day crowds or cold autumn weekends
The Heath Riles Fall Chili Recipe
That first sizzle of beef hitting a hot cast iron pot is where it all starts. I remember trying to rush a batch of chili for a neighborhood cookout a few years back, skipping the sear and just dumping everything in a crockpot. It tasted like boiled meat and tomato soup. No depth, no color, just... bland.
Once I started treating the beef like a brisket, everything changed.
This version isn't about fancy ingredients, but about the order of operations. We're using beef chuck roast because it's the budget friendly workhorse of the meat aisle. It has the right amount of fat and connective tissue to survive six hours of heat without turning into sawdust.
You can expect a bowl that's heavy on the smoke and light on the "soupiness." The Heath Riles Fall Chili Recipe turns out thick and hearty, meaning you can actually pile on the toppings without them sinking to the bottom of the bowl.
Why These Techniques Work
The Two Stage Heat: Smoking the beef at 225°F first lets the smoke penetrate the meat before the liquid creates a barrier. Once you add the broth and beer, the temperature jump to 300°F breaks down the collagen into gelatin, which gives the sauce that glossy, rich feel.
Lager Integration: Using a dark lager or stout adds a malty, slightly bitter backbone. This balances the sweetness of the brown sugar and the acidity of the fire roasted tomatoes.
Searing First: Browning the meat in batches creates a crust. This isn't just for looks, it develops a deep savory base that persists even after hours of simmering.
Quick Recipe Specs
| Method | Total Time | Flavor Profile |
|---|---|---|
| Standard Stovetop | 2 hours | Bright, tomato heavy |
| Smoked (This Recipe) | 6 hours 20 mins | Deep, wood fired, rich |
- - For a thicker sauce
- Simmer without the lid for the last hour.
- - For more heat
- Add 1 tbsp of chipotle powder during the sear.
- - For a milder taste
- Use a light pilsner instead of a stout.
What Goes Into the Pot
| Ingredient | What It Does | Best Swap |
|---|---|---|
| Beef Chuck Roast | Adds richness and a sturdy texture | Stew beef (will be leaner) |
| Meat Church Chili Seasoning | The main source of salt and spice | Chili powder, cumin, smoked paprika |
| Dark Lager/Stout | Contributes malty complexity | Strong black coffee |
The Full List:
- 3 lbs beef chuck roast, cut into 1/2 inch cubesWhy this? High collagen levels ensure tenderness
- 3 tbsp Meat Church Chili SeasoningWhy this? Balanced BBQ-style spice
- 2 tbsp avocado oilWhy this? Excellent for high heat searing
- 1 large yellow onion, diced
- 4 cloves garlic, minced
- 1 can (14.5 oz) fire roasted diced tomatoesWhy this? Adds a hint of charred smoke
- 1 can (6 oz) tomato paste
- 1 cup beef bone broth
- 1 bottle (12 oz) dark lager or stout beer
- 2 tbsp brown sugar
Gear You'll Need
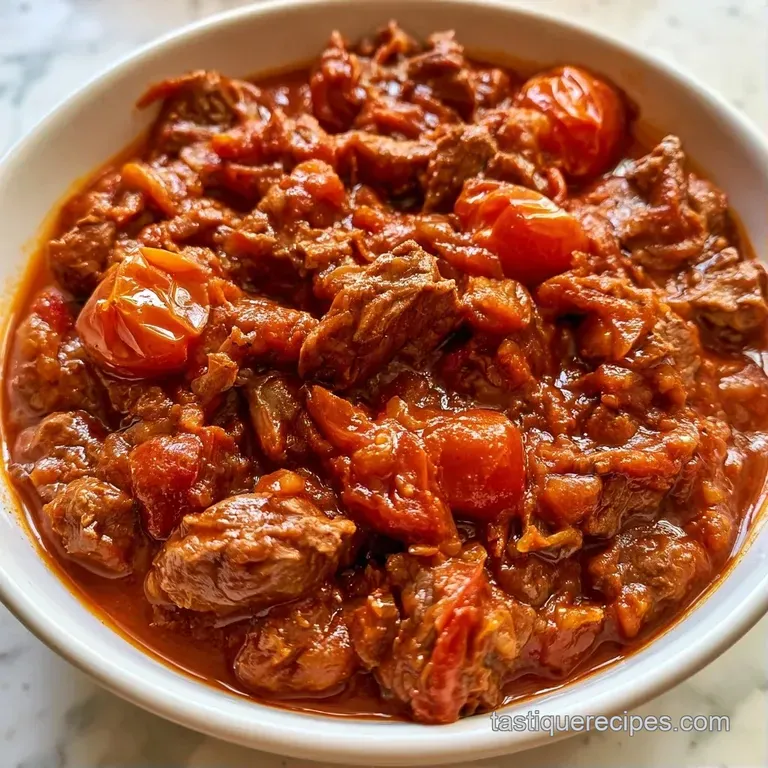
The right gear can make this process much simpler. A cast iron Dutch oven is the ideal choice here; it distributes heat uniformly and moves seamlessly from the stove to the smoker.
If you don't have a smoker, a heavy pot and an oven are viable alternatives, though you will miss that characteristic wood fired flavor. I recommend using a meat thermometer to monitor the temperature if you're new to low and slow cooking.
Cooking Process and Steps
- Pat the beef cubes dry with paper towels. Toss them in a bowl with the Meat Church Chili Seasoning until every piece is evenly coated. Note: Dry meat sears better; wet meat steams.
- Heat avocado oil in a cast iron Dutch oven over medium high heat. Sear the beef in batches until a deep brown crust forms on all sides (about 3-4 minutes per batch).
- Transfer the seared beef and the uncovered Dutch oven onto a smoker set to 225°F (107°C). Smoke for 2 to 3 hours until the meat has a rich, smoky aroma.
- Stir in the diced onions and minced garlic. Cook them in the pot until the onions become translucent.
- Add the tomato paste, fire roasted tomatoes, beef bone broth, beer, and brown sugar.
- Cover the pot with the lid.
- Return the pot to the smoker (or a 300°F oven). Cook for another 3 hours until the liquid is thick and glossy and the beef is fork tender.
- Let the chili rest for 15 minutes before serving. This allows the sauce to settle and thicken slightly.
Solving Common Chili Issues
If your chili feels a bit off, it's usually a liquid or salt balance issue. Because we use a pre made rub, the salt levels can vary depending on how much you used during the toss. Honestly, don't panic; most of these are easy fixes.
Fixing a Thin Consistency
If the sauce is too runny, you likely had a lot of moisture in your onions or the beer didn't reduce enough. The fix is simple: leave the lid off during the final hour of cooking. This lets the water evaporate, concentrating the flavors into a thick, velvety sauce.
Balancing Excessive Saltiness
Too much salt usually happens if the bone broth was already salted. Add a small amount of unsweetened cocoa powder or a bit more brown sugar. The bitterness and sweetness mask the salt without changing the overall profile of the Meat Church chili recipe.
Dealing with Bitter Beer Notes
Some stouts are more aggressive than others. If the beer taste is too sharp, a teaspoon of apple cider vinegar can brighten the dish and cut through the bitterness.
| Problem | Fix |
|---|---|
| Too runny | Simmer uncovered for 45-60 mins |
| Too salty | Add 1 tsp cocoa powder or brown sugar |
| Too bitter | Add 1 tsp apple cider vinegar |
Making This Recipe Work
Since this is a BBQ chili recipe, it's very flexible. If you're serving this as a Heath Riles game day chili, you might want to scale it up. When doubling, I only increase the salt and spices by 1.5x. Too much seasoning in a large pot can become overwhelming.
For those wanting a different protein, this works great with venison or bison. Just be careful; game meats are leaner than chuck roast. I recommend adding a tablespoon of butter or beef tallow to the pot to keep the meat from drying out during the long smoke.
If you're planning a full spread, this pairs well with a light appetizer. I've found that Shrimp Egg Rolls provide a great crunchy contrast to the rich, slow cooked beef.
Adapting for Different Diets
For a lower carb version, omit the brown sugar and use a pinch of stevia or monk fruit sweetener. The flavor difference is minimal once the beer and tomatoes simmer down.
Using Different Meats
Venison is a favorite for an autumn chili recipe. Since it lacks the fat of beef, increase the avocado oil by one tablespoon during the sear to ensure the meat doesn't stick.
Saving and Storing Leftovers
This recipe is even more delicious after sitting overnight, as the flavors deepen and the beef becomes more tender. Keep it in an airtight container and refrigerate for 3 to 4 days.
This dish is also perfect for the freezer. Once fully cooled, transfer it into freezer safe bags where it will remain good for 3 months. To serve, let it defrost in the refrigerator overnight and warm it up in a pan, adding a bit of beef broth to bring back the sauce's consistency.
Don't throw away any extra beef broth or beer. I often use the leftover broth to whip up a fast pan sauce. For a unique fusion brunch, try topping Sourdough Scallion Pancakes with the remaining chili; the savory pancake serves as a great alternative to corn bread.
How to Serve This
The best part of making fall chili at home is the topping station. Because the base is so rich, you need a bit of crunch and acidity to balance the dish.
I always set out bowls of: - Pickled jalapeños or red onions for a tangy kick. - Sharp cheddar, grated fresh (skip the pre-shredded bags, as the cornstarch prevents them from melting smoothly). - Cold Greek yogurt or sour cream. - Chopped fresh cilantro and scallions.
Dish this out in deep bowls with thick corn chips or honey butter cornbread on the side. To truly awaken the smoky notes of the Heath Riles smoked chili, try adding a squeeze of lime juice just before serving.
Recipe FAQs
Can this chili be made in an oven instead of a smoker?
Use a 300°F oven for the final simmer if you lack a smoker. This maintains the heat necessary to break down the beef. This savory dish pairs perfectly with a slice of Southern style cake for a complete autumn menu.
Is it true that skipping the searing process won't affect the final flavor?
That's a myth. Searing the beef in avocado oil creates a deep brown crust that provides the foundation for the sauce's depth.
How to ensure the beef stays tender after six hours of cooking?
Select beef chuck roast cut into half inch cubes. The connective tissue in this cut prevents the meat from drying out during the long cook.
What causes the sauce to become thick and glossy?
Simmering the pot at 300°F for the final three hours melts collagen into gelatin. This creates the rich, mahogany finish that clings to the meat.
Which beer works best for the base of this recipe?
Opt for a dark lager or stout. These styles add a malty bitterness that balances the sweetness of the brown sugar.
Heath Riles Fall Chili