Crusty Italian Bread: Crackling Crust and Airy Crumb
- Time: Active 35 min, Passive 165 min, Total 245 minutes
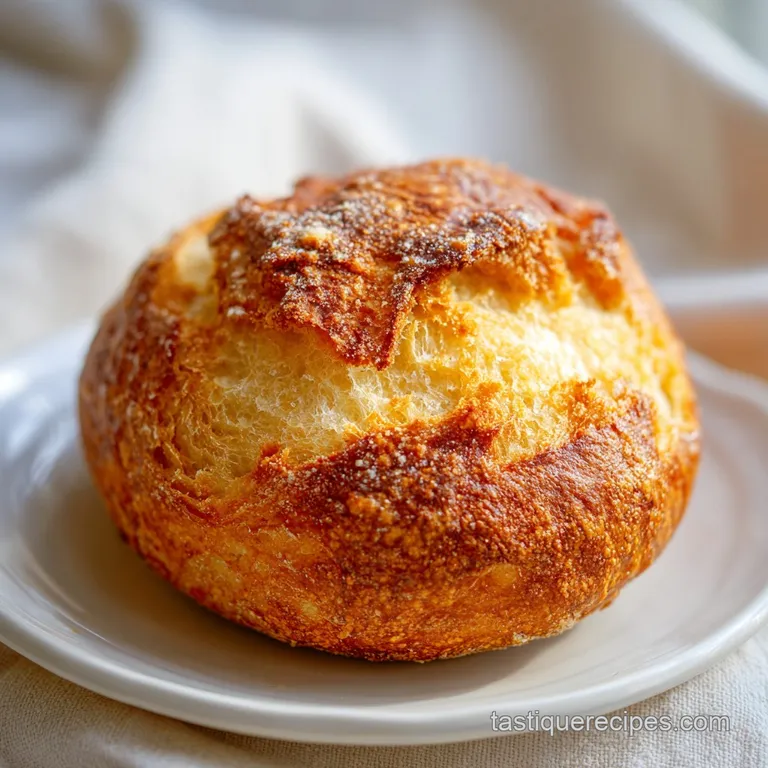
- Flavor/Texture Hook: Shattering, golden crust with a soft, honey kissed interior
- Perfect for: Weekend baking, pasta nights, and impressive dinner parties
- Baking the Best Crusty Italian Bread
- Understanding Why This Recipe Works
- Essential Specs for This Loaf
- Deep Dive Into Key Ingredients
- Tools Needed for Rustic Baking
- Steps for the Perfect Loaf
- Pro Tips and Common Pitfalls
- Tasty Flavor Variations to Try
- Secrets for Keeping Bread Fresh
- Creative Ways to Enjoy Bread
- Kitchen Myths Debunked
- Recipe FAQs
- 📝 Recipe Card
Baking the Best Crusty Italian Bread
Imagine standing in your kitchen as the oven timer dings, and the air is thick with the scent of toasted grain and sweet honey. You pull out a heavy pot, lift the lid, and there it is: a rustic, bronzed loaf that actually sings.
That faint crackling sound, often called the "bread's song," happens as the cool air hits the hot crust, causing it to contract and shatter in tiny, beautiful webs.
For a long time, I thought this kind of bread was only possible in a professional stone oven. I tried using all purpose flour and baking on a flat sheet, but the results were always a bit sad - pale, soft, and more like a dinner roll than a true Italian loaf.
The secret, I finally realized, isn't about having a fancy kitchen. It’s about the high protein content of bread flour and the magic of trapped steam.
Bread flour is our absolute hero here. While you might be tempted to just grab whatever bag is in the pantry, the 500g of bread flour in this recipe is what gives the loaf its "backbone." It contains more gluten forming proteins than standard flour, which allows the dough to stretch and hold onto the carbon dioxide bubbles created by the yeast.
Without that strength, your bread will end up flat and dense rather than tall and airy.
Understanding Why This Recipe Works
To get that specific texture we crave, we have to look at how moisture and heat interact inside your oven. It isn't just about getting the dough hot; it's about controlling how it dries out.
- Steam Saturation: Baking inside a preheated Dutch oven traps the moisture escaping from the dough, creating a mini steam chamber that keeps the surface supple so the bread can expand fully before the crust sets.
- Protein Framework: Using bread flour ensures a high tension gluten network that supports the large air pockets formed during the generous 200 minutes rise time.
- Sugary Browning: The 5g of honey doesn't just feed the yeast; it participates in browning the crust, providing a deep golden color even at home oven temperatures.
- Frictionless Expansion: The 15ml of extra virgin olive oil coats the gluten strands, allowing them to slide past each other easily as the dough grows, leading to a more tender crumb.
| Cooking Method | Total Time | Crust Texture | Best For |
|---|---|---|---|
| Dutch Oven | 245 minutes | Thick and Shattering | Authentic artisan results |
| Baking Sheet | 230 minutes | Thin and Soft | Quick sandwiches |
| Pizza Stone | 240 minutes | Crispy Bottom | Flatbread styles |
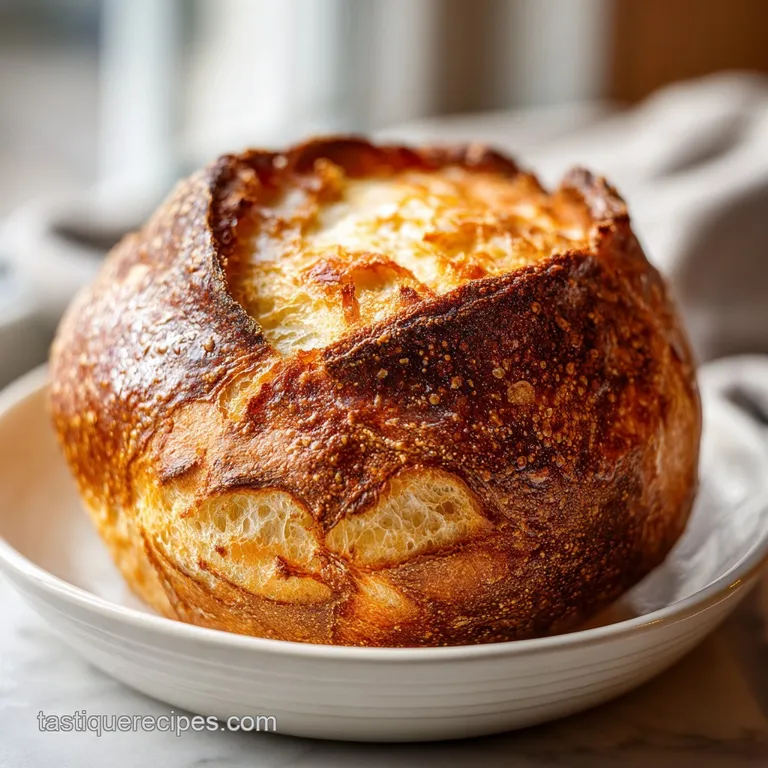
Using the Dutch oven is the gold standard for this specific bake. The heavy walls of the pot hold onto heat much better than the thin air of the oven alone, giving the dough a massive "oven spring" the moment it hits the hot surface.
This creates those dramatic cracks and a height that makes the loaf look like it came straight from a Tuscan window display.
Essential Specs for This Loaf
Precision is your best friend when you're working with yeast. While rustic baking feels like an art, the foundation is very much a series of checkpoints that ensure your hard work doesn't result in a gummy center or a burnt bottom.
If you find yourself wanting something a bit softer for the kids' school lunches, you might want to look into my Japanese Milk Bread Rolls. They use a different technique for softness, whereas this Italian loaf is all about that rugged, crusty exterior.
| Loaf Thickness | Internal Temp | Rest Time | Visual Cue |
|---|---|---|---|
| 4-5 inches | 205°F (96°C) | 60 minutes | Deep mahogany color |
| 3 inches | 200°F (93°C) | 45 minutes | Golden brown |
| 2 inches | 195°F (90°C) | 30 minutes | Pale tan |
The internal temperature is the only way to be 100% sure your bread is done. If you pull it out too early, the steam inside will turn back into water, leaving you with a sticky, doughy middle. Aim for that 205°F mark for the best structure.
Deep Dive Into Key Ingredients
Every gram in this recipe serves a specific purpose. We aren't just mixing things together; we are building a biological structure that needs to be fed and supported.
| Component | Role in Dough | Pro Secret |
|---|---|---|
| Bread Flour (500g) | Structural base | Always weigh it for consistency |
| Active Dry Yeast (7g) | Leavening agent | Use water at 105°F-110°F |
| Fine Sea Salt (10g) | Flavor & Gluten Control | Regulates yeast fermentation speed |
| Honey (5g) | Yeast food | Helps the crust caramelize |
While I love the purity of this loaf, sometimes I crave something with a bit more of a "homestead" feel. If that sounds like you, my Oat Molasses Bread recipe is a fantastic alternative that uses heritage style flavors for a denser, sweeter slice.
When choosing your ingredients, don't skimp on the olive oil. Use a high-quality extra virgin olive oil because its flavor will lightly permeate the crumb. The 15ml might seem small, but it provides a silkiness to the dough that makes it much easier to handle during the kneading phase.
Tools Needed for Rustic Baking
You don't need a kitchen full of gadgets to bake amazing bread, but there are a few items that make the process much more reliable. Most of these are likely already in your cupboards.
- 6 Quart Dutch Oven: This is the most critical tool. It acts as a heavy duty heat sink and steam trap. If you don't have one, a heavy cast iron pot with a tight lid works too.
- Digital Scale: I cannot stress this enough weighing your 500g of flour is ten times more accurate than using measuring cups. A "cup" of flour can vary by 20g depending on how tightly it's packed!
- Parchment Paper: This makes transferring the sticky dough into a screaming hot pot safe and easy. No one wants to drop dough into a 450°F pot by hand.
- Lame or Razor Blade: To get those beautiful expansion cracks, you need a very sharp edge to score the top of the dough. A serrated knife can work in a pinch, but it often tears the dough.
Chef's Tip: If you don't have a Dutch oven, you can place a shallow pan of boiling water on the bottom rack of your oven to create steam, though the results won't be quite as "shattering" as the pot method.
Steps for the Perfect Loaf
Follow these steps closely. The 200 minutes of prep time is mostly hands off, but those intervals of waiting are when the flavor truly develops.
- Bloom the yeast. Whisk the 375ml warm water, 5g honey, and 7g active dry yeast in a small bowl. Note: Wait 5-10 minutes until it looks foamy like the head on a latte.
- Combine dry ingredients. Whisk the 500g bread flour and 10g fine sea salt in a large bowl.
- Mix the dough. Pour the yeast mixture and 15ml extra virgin olive oil into the flour. Stir until no dry flour streaks remain and a shaggy mass forms.
- Develop the gluten. Knead the dough on a floured surface for 8-10 minutes until it feels smooth and elastic. It should bounce back when poked.
- The long rise. Place in a greased bowl, cover, and let rise for 3 hours until more than doubled in size. This slow rise is where the flavor lives.
- Preheat the pot. Place your Dutch oven inside the oven and preheat to 450°F (230°C) for at least 30 minutes.
- Shape and score. Gently shape the dough into a round loaf. Place on parchment paper and use a razor to cut a 1/2 inch deep "X" across the top.
- Steam bake. Carefully lower the parchment and dough into the hot Dutch oven. Bake covered for 30 minutes until the bread has fully expanded.
- Final browning. Remove the lid and bake for 15 minutes until the crust is deep mahogany and sounds hollow when tapped on the bottom.
- The cool down. Transfer to a wire rack. Resist the urge to slice for at least 1 hour to let the interior structure set.
Pro Tips and Common Pitfalls
Even with a solid recipe, bread can be temperamental. Humidity, the age of your yeast, and even the temperature of your kitchen counter can change the outcome.
Fixing a Flat Loaf
If your bread looks more like a pancake than a boule, it’s usually a sign of over proofing or weak gluten. If the dough rises for too long, the yeast runs out of "food" and the air bubbles collapse.
Stick to the 3 hours rise time, but if your kitchen is very warm (over 80°F), check it at 2 hours.
Avoiding the Gummy Interior
Slicing into hot bread is the biggest mistake you can make. That steam inside the loaf is still working to finish the "bake" as it cools. If you cut it open while it's steaming, that moisture escapes instantly, leaving the remaining bread gummy and wet.
| Problem | Root Cause | Solution |
|---|---|---|
| Dense Crumb | Water too hot | Use a thermometer (110°F max) |
| Burnt Bottom | Pot too close to heat | Place a baking sheet on the rack below |
| No Crust | Not enough steam | Keep the lid tightly sealed for 30 mins |
Common Mistakes Checklist
- ✓ Ensure your yeast is fresh; if it doesn't foam in step 1, throw it out and start over.
- ✓ Don't skip the 30 minute preheat for the Dutch oven; it needs to be blistering hot.
- ✓ Use bread flour, not all purpose, to get that tall, professional height.
- ✓ Let the bread cool completely on a wire rack to prevent a soggy bottom.
- ✓ Score the dough deeply; if you don't, the bread will "blow out" from the side.
Tasty Flavor Variations to Try
Once you've mastered the basic Crusty Italian Bread, it becomes a canvas for all sorts of Mediterranean flavors.
If you are looking for a meal to go with these variations, this bread is the ultimate partner for my Brussels Sprouts Alfredo. The crunchy crust is perfect for soaking up that creamy sauce.
- Roasted Garlic: Fold in 10-12 cloves of roasted garlic during the final shaping phase for sweet, mellow pockets of flavor.
- Rosemary and Sea Salt: Mix 1 tablespoon of chopped fresh rosemary into the flour and sprinkle extra flaky salt on top after scoring.
- Parmesan Crust: In the last 5 minutes of baking (uncovered), sprinkle 1/4 cup of freshly grated Parmesan over the top for a salty, cheesy crunch.
When scaling this recipe, keep in mind that baking two loaves at once requires more oven space and potentially two Dutch ovens. If you double the recipe, only increase the yeast to 10g and the salt to 15g to avoid an overly salty or "yeasty" flavor.
For a half batch, you can use a smaller 3 quart pot and reduce the baking time by about 10 minutes.
Secrets for Keeping Bread Fresh
Homemade bread doesn't have the preservatives of store-bought loaves, so it will go stale faster. However, there are ways to keep that "just baked" feel for a few days.
Storage: Store the cooled loaf in a paper bag for the first 24 hours to maintain the crust. After that, move it to a sealed plastic bag or a bread box. It will stay good for about 3 days at room temperature.
Never store bread in the fridge, as the cold temperature actually recrystallizes the starches and makes it go stale faster!
Freezing: This bread freezes beautifully. Slice the loaf first, then freeze the slices in a heavy duty freezer bag for up to 3 months. You can pop a frozen slice directly into the toaster for a quick snack.
Zero Waste: If the bread does go hard, don't toss it! Stale Italian bread is the gold standard for Panzanella salad or homemade croutons. You can also blitz it in a food processor for the best breadcrumbs you've ever had.
| Original Ingredient | Substitute | Why It Works |
|---|---|---|
| Honey (5g) | Granulated Sugar | Feeds yeast similarly but lacks floral notes |
| Extra Virgin Olive Oil | Grapeseed Oil | Provides fat for tenderness without the olive flavor |
| Bread Flour | All Purpose Flour | Note: Will result in a softer, less chewy loaf |
Creative Ways to Enjoy Bread
A loaf of Crusty Italian Bread is practically a meal in itself, but how you serve it can turn a simple lunch into something special.
The classic move is a dipping board. Mix high-quality olive oil with a splash of balsamic vinegar, a pinch of dried oregano, and some red pepper flakes. Tear the bread by hand don't slice it and let everyone dig in.
The craggy edges of a torn piece of bread hold onto the oil much better than a smooth, knife cut surface.
For a more substantial option, use thick slices for bruschetta. Rub a raw clove of garlic over the toasted surface, top with diced tomatoes, fresh basil, and a drizzle of oil. The structure of this bread is strong enough to hold heavy toppings without getting soggy.
If you have leftovers, they make the best grilled cheese of your life the crust becomes incredibly crispy in a buttered skillet while the inside stays soft and melty.
Kitchen Myths Debunked
Many people believe that "knocking back" the dough aggressively is necessary to get a good crumb. In reality, being too rough with the dough after its 3 hour rise can pop all the beautiful air bubbles you've worked so hard to create. Use a gentle hand when shaping to preserve that interior lace work.
Another common myth is that you need a "steam injection" oven to get a crusty loaf. While professional ovens do this, our Dutch oven technique creates the exact same environment by using the bread's own moisture. It’s a low tech solution that produces high tech results.
Finally, don't believe the idea that bread needs to be kept warm while rising. A cooler, slower rise actually allows the yeast to produce more complex, acidic flavor compounds, which is why we aim for a steady room temperature rather than a hot spot.

Recipe FAQs
How to know if the yeast is ready for mixing?
Wait 5 to 10 minutes for a foamy, creamy head to develop on the surface of your water, honey, and yeast mixture. If it doesn't foam during this window, discard it and start over with fresh yeast to ensure your bread rises correctly.
Why is the preheat time for the Dutch oven important?
It must be blistering hot to create the immediate thermal shock necessary for a springy crumb and a golden, crackling crust. Skipping this 30-minute preheat stage often results in a dense loaf that fails to rise properly.
How to prevent the bread from tearing or blowing out while baking?
Score the dough deeply with a razor blade just before placing it into the Dutch oven. This intentional cut provides a specific path for steam to escape, which prevents the crust from splitting unpredictably at the sides.
Is all-purpose flour a good substitute for bread flour?
No, stick with bread flour for the best results. Bread flour has the higher protein content required to build the necessary gluten structure for a tall, airy loaf with a professional, chewy texture.
How to ensure the bottom of the loaf doesn't get soggy?
Cool the bread completely on a wire rack after removing it from the oven. This allows trapped steam to evaporate from the base of the loaf, preserving the crispness you achieved during the final 15 minutes of uncovered baking.
How to develop the deepest flavor in the dough?
Allow the full 3-hour rise to pass, as this period is essential for fermentation. If you enjoyed mastering the dough development here, the same patience with proofing times helps build complex, savory notes in your final loaf.
What is the secret to a dark, crackling crust?
Bake covered for 30 minutes, then uncovered for 15 minutes. The initial covered time traps steam to allow for maximum expansion, while the final uncovered session exposes the surface to direct heat to darken and harden the crust.
Crusty Italian Bread
Ingredients:
Instructions:
Nutrition Facts:
| Calories | 165 kcal |
|---|---|
| Protein | 5.3 g |
| Fat | 1.8 g |
| Carbs | 31.1 g |
| Fiber | 1.1 g |
| Sugar | 0.6 g |
| Sodium | 324 mg |
